Showing posts with label Body Parts. Show all posts

Tuesday, February 8, 2011

#18 Valley of the Dolls

These are some dolls I have done and or still working on. 
Thrift stores are a great place to find old dolls for very little money.


This is a porcelain doll I have recently taken apart, and painting.
Spray paint works really good for  porcelain dolls.


Actually porcelain dolls are pretty creepy as is.


Baby dolls are only a dollar or two at the thrift store, and the easiest to find.
Simply creeped up with a little acrylic paint and demented imagination.


Here I got a little carried away making over this one. But he was just begging to be Pinhead.


He's cuddly, He's adorable, he will tear your soul apart!


Wednesday, October 13, 2010

#11 Give the Ghoul a Hand

Wow I have not been on for quite sometime, but I knew this would happen...it being October and all! But here is a good one just in time for Halloween.

Corpse Hands!

sorry not painted yet here... add that picture later


I have tried just about every method imaginable.... there is the coat hanger/pen method, which is a great recycle idea. For that one you take old dried up pens and markers...


Grab a couple coat hangers...  bend them around a traced hand.


mark the knuckle joints


Masking tape them together good.


Cut up your pen tubes (ink parts removed) to size and drop them over according...


Then go over it all with masking tape, and then either paper mache or latex. 
I have done this method alot as well as one that uses drinking straws in place of the pens. 


Both ways are great, but the the following method I like the most.


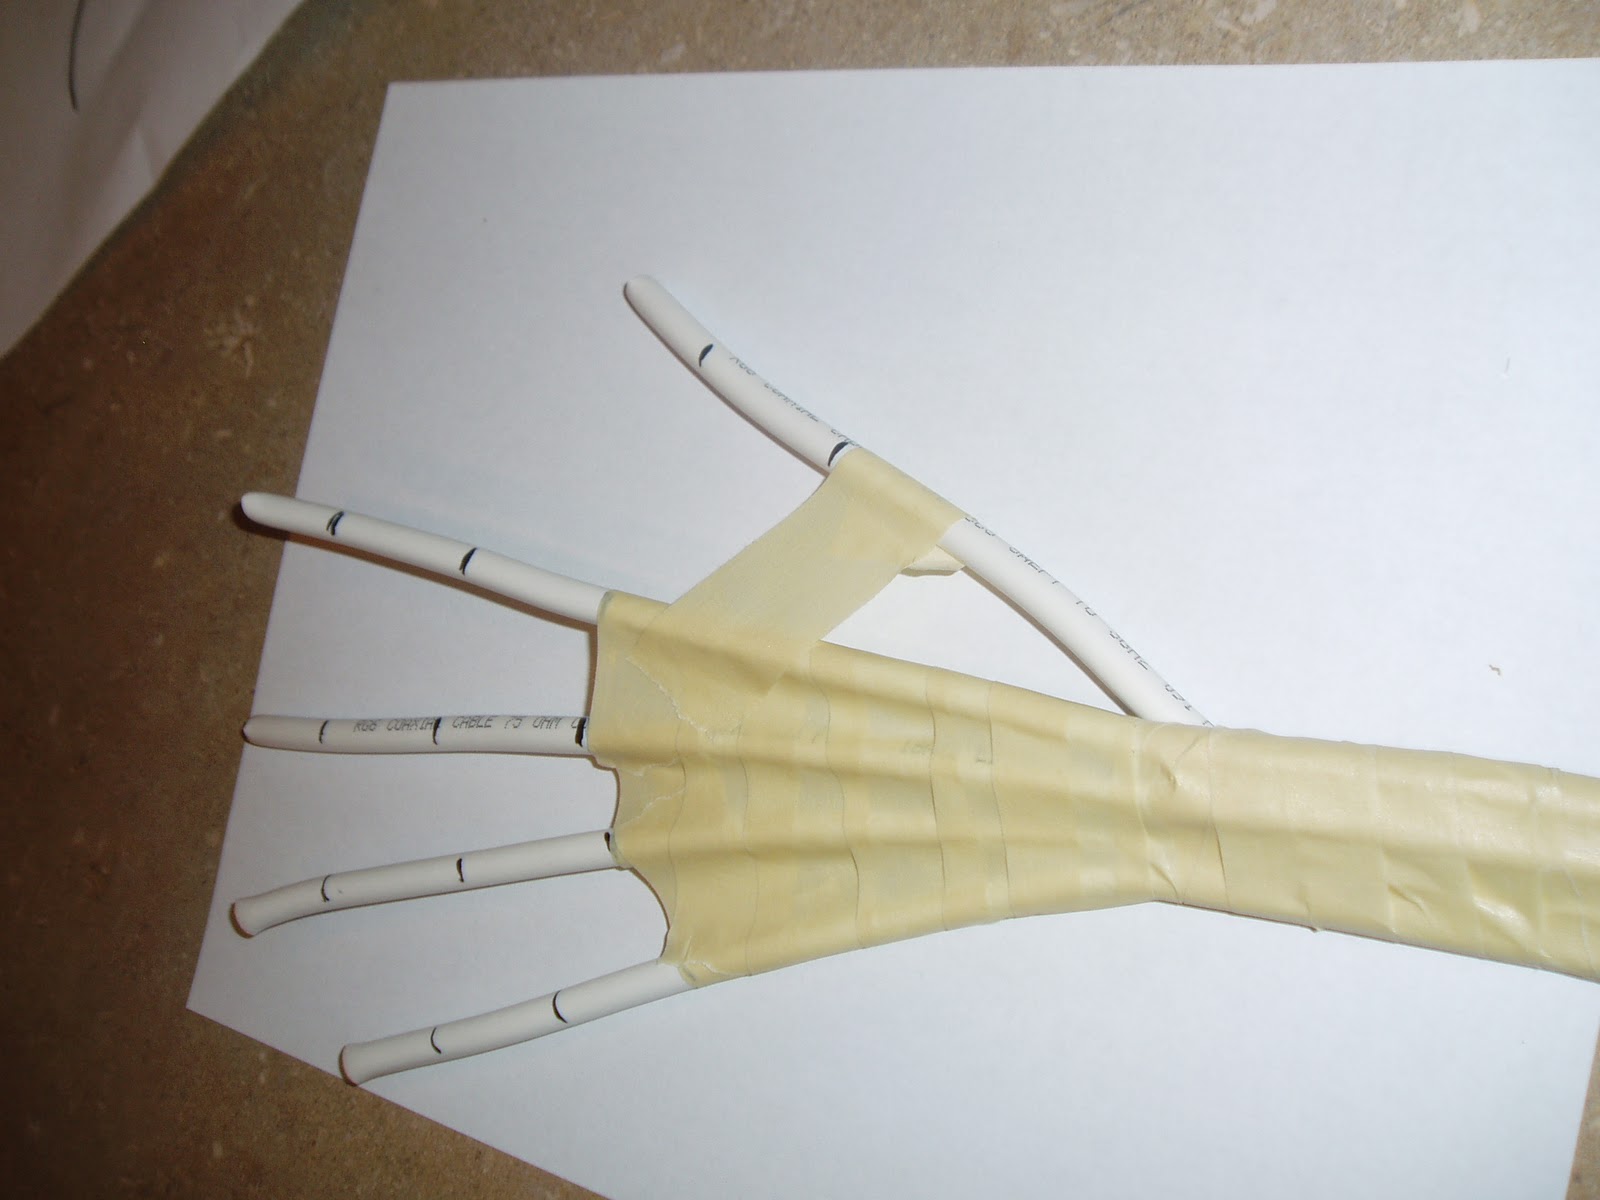
I start with coaxial cable the bendy kind. You may have leftover wire like this around your house. This stuff is about a 1/4'' round and keeps its shape like wire when you bend it.


You also need wire cutters and pliers, cotton balls, and masking tape.


Now a quick thought about liquid latex. 
You can order it online of course.

 I have heard you can get the stuff in adult shops as well.
 I would not be opposed to, but the only one here is far away....
 and I don't like going in that place alone!

So if you are not up for that kind of distracting adventure....
Michael's and Hobby Lobby have it.


 It's called Mold Builder. 
My store has it in their glue section, but I have seen it in the clay section sometimes.
It's not cheep though. This 16 oz jar is $14... great time for those michael's 40% off coupons.


First we are making a tracing of your hand,
 or if you have little girly hands like me...my husbands hand, 
Mark the joints.

sorry these are sideways have to fix that

I cut my wire according, and masking tape them together at the wrist. 
That wrist by the way fits perfectly snug in 3/4 inch schedule 40 pvc pipe.


I add the thumb on other side.


Then I start making the palm. 
Using my traced image and my own hand as a guide,
 just wrap the masking tape around and connect the fingers. 


once I get the palm connected good I add the thumb.


Then i tape over the whole deal and mark my joints again as a reference.


Now comes the liquid latex. 
I brush a little on an area, with a cheap brush i do not care about because it will be ruined.
I like to use my finger actually...the latex is easy to get off.


Then add pieces of cotton ball and go over the cotton with more latex.


I let it dry before each layer. 
Just a couple hours in the sun do just fine.


I fill in my palms, fatten them up.


Add little knuckles at all the joints. 


And go over the whole thing with more latex. 
You can do as many coats as you want depending on how dead your ghoul is.


In these pictures its not quite dry. 
It dries to a yellowish color but you can paint it whatever color you want.

The cool thing about this method is the hands are flexible. 
But if you don't need it to be posable you can easily skip the latex part and 
go the paper mache route instead. 
This is just a easy, versatile base for what ever you choose to do with it.


Sunday, September 5, 2010

#7 The Eyes have It

Eyes are a very big deal to many projects. 
They do sell eyeballs in bags at Halloween, 
but they are pretty cheesy. 
Here are a couple methods I love.


First is the Easy Eyes method via the HauntersHangout.com. 
This is such a great method you can crank out a ton of eyes in under 30 minutes. 
Minimum cost, no artistic ability needed.

Click on the picture below and print this template out. 
Then cut out your irises of your choice.


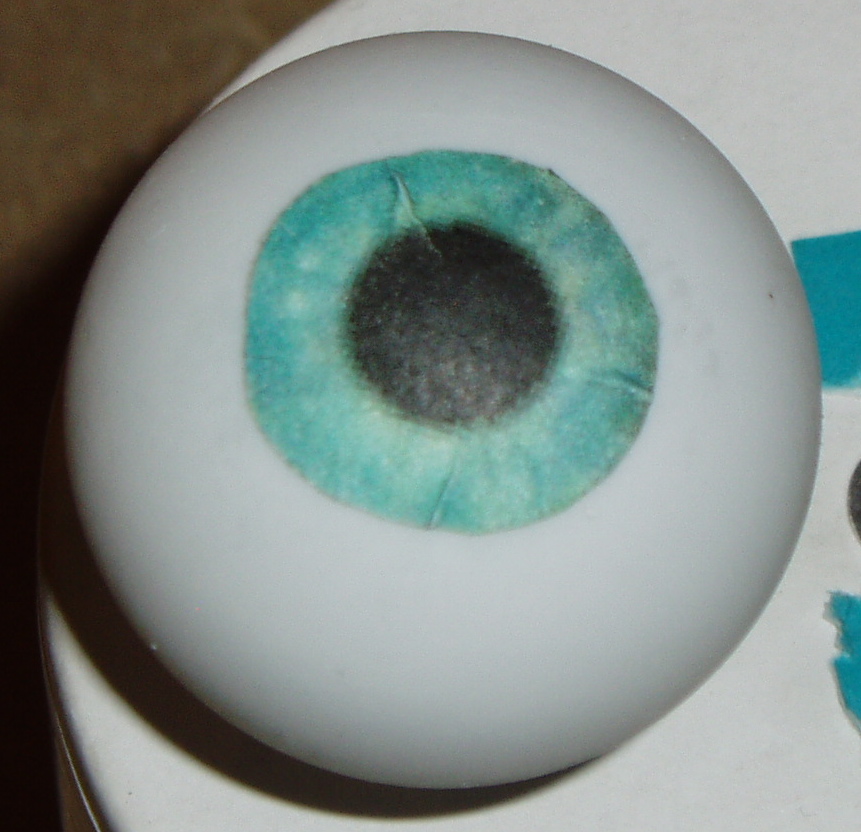
The eye itself can be any white sphere I make them out of fimo, use wood balls, table tennis balls, roll-on ball from deodorant, and then the simplest here... ping pong balls. 

I found some ping pong balls a 4 pack at Target, in the $1 section at the front of the store. Walmart has them as well in the sporting section.

First I poke a hole in them with a skewer and stick the little guy on a tooth pick to work with.


Using a decoupage method apply the Iris. Use glossy Mod Podge or a 50/50  mixture of elmers glue and water. 

Brush the glue mixture on the surface, apply the paper iris, then brush glue mixture over top. 
You can clean up any ink smears on the eye ball with a wet paper towel.


For the red veins a simple red crayon, or even better a red colored pencil 
is the easiest fool proof way to go.


You can draw the veins on lightly for finer lines or press harder for a deeper bloodshot veins.
 I use  mixture of pressure all over.


If you are going to see the whole eye ball, blot on some red paint to finish out the back side.


Last the eye needs to be wet and glossy.
 I have tried all types of things I have on hand.

Simple clear nail polish is probably my favorite though.


And thats it.... a few coats and you have eyes that look too real.


Now lets say you need a whole bunch of smaller sizes eyes stat! 

And maybe your printer is possessed by the devil! 

You could paint a  bunch of eyeballs freehand... but painting a perfect circle on a sphere can be a pain!

Well here is another painted method short cut I made up....and if you have kids you probably have the supplies laying around.


These are 1" wooded bead balls from the craft store. Perfect size for what I needed.


First I drilled a little hole in all of them.


Next I stuck a little tooth pick in each one and put them in some floral foam....


...primed and painted them white.


The kids have these little Nerf Bullets all over the house... so I snagged one.


I made muddy blue color with a mixture of blue, white, and black acrylic paint.

I dipped my bullet end in the paint, blotted it a couple times to loose the excess paint,
then applied it to the ball.

Do some tester stamps on paper to figure out the right amount of paint and pressure you need.


Having the balls stationary is key here. 
Push the bullet down and without sliding or lifting, press down 
while wiggling in a circular motion.
Make sure all sides of the circle are defined. 
If you lift it and see you missed a spot...
 with a steady hand push it back down, and press in the missed area.


The effect of the stamp is perfect.

Next I filled in the black part.
I started out painting with acrylic... but then I thought to grab a sharpie pen.
I used it on the last half... it worked perfect and it's a little faster.


'

then I applied the veins and gloss same as easy eyes method above. 

Here are some things I learned. 
For the red viens... do not use  a red pen or sharpie. 
They will bleed and turn orange when you add your final gloss coat. 

Also watch it when you do your gloss finish at the end. 
The iris may want to bleed too, especially the black sharpie part, 
and especially if you use the nail polish. 
Best to do a very light coat on just the iris, let it dry. 
Then go over the whole thing , so as not to smear everything around.